Even the most careful air fryer users will eventually notice it — a layer of sticky, brown residue clinging stubbornly to the heating element. This baked-on grease not only looks unpleasant but can also affect your air fryer’s performance, create smoke during cooking, and even change the taste of your food.
If you’ve been wondering how to remove baked-on grease from your air fryer element without damaging it, you’re in the right place. After testing several cleaning techniques myself, I’ve discovered what really works — and what definitely doesn’t.
Let’s break it down step-by-step so you can bring your air fryer back to its original shine safely and easily.
Why the Heating Element Gets Greasy?
The heating element is located at the top of your air fryer, just above the cooking chamber. Every time you cook foods with oil or fat — think fried chicken, bacon, or wings — tiny droplets of grease get carried upward by the hot air circulation.
Over time, that grease collects on the metal coils and hardens due to repeated heat exposure, forming a layer of sticky, carbonized residue. If left unchecked, it can:
- Produce unpleasant burnt smells while cooking.
- Cause smoke inside the air fryer.
- Reduce heating efficiency.
- Even become a fire hazard in extreme cases.
So cleaning your air fryer’s heating element isn’t just about looks — it’s about performance and safety too.
What You’ll Need:
Before getting started, gather a few safe cleaning tools and materials:
- A soft brush (a small paintbrush or old toothbrush works great)
- A microfiber cloth or sponge
- Baking soda
- White vinegar or lemon juice
- Dish soap
- Warm water
- A soft-bristle bottle brush (optional, for reaching tight spots)
Never use abrasive scrubbers or metal brushes — these can permanently damage the delicate heating coil.
Step-by-Step: How to Remove Baked-On Grease from the Air Fryer Element
Step 1: Unplug and Cool Down Completely
Safety first. Unplug your air fryer and allow it to cool for at least 30 minutes after use. You’ll be working near electrical components, so it’s essential there’s no residual heat or power running through the unit.
Step 2: Turn the Air Fryer Upside Down
Once it’s cool, gently flip your air fryer upside down to get better access to the heating element. Place it on a soft towel to prevent scratches.
You’ll now be able to clearly see the greasy area above the basket compartment.
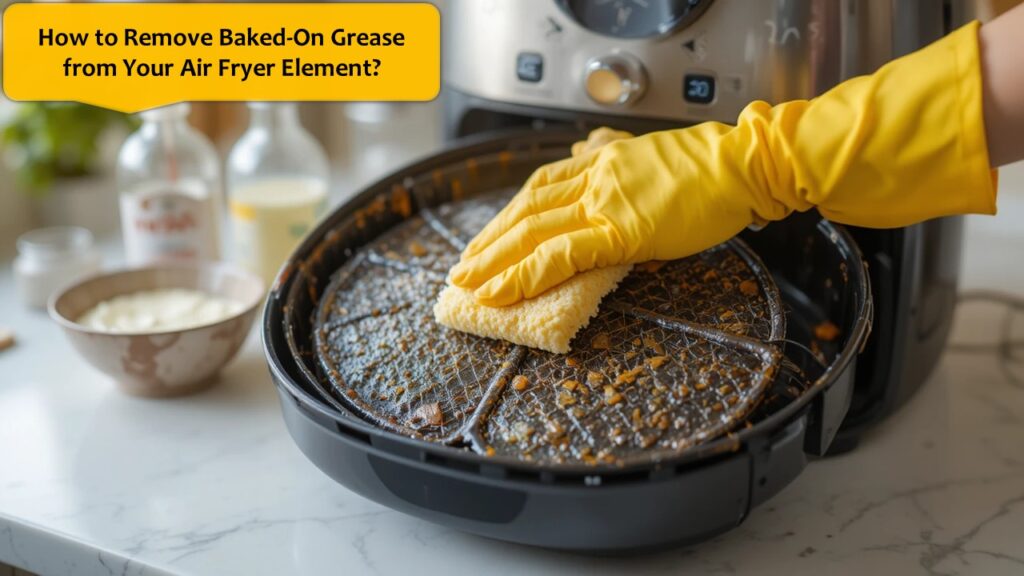
Step 3: Dry Brush the Debris
Before applying any liquids, use a dry soft brush or old toothbrush to gently remove loose crumbs, burnt food bits, or dry grease flakes from the coil area.
This prevents spreading debris around once you start cleaning with moisture.
Step 4: Make a Safe Cleaning Paste
Mix 2 tablespoons of baking soda with a few drops of water or lemon juice to create a thick paste. Baking soda is a mild, natural abrasive that helps break down hardened grease without scratching metal.
Using a brush or cloth, apply the paste directly to the greasy areas of the element. Let it sit for 15–20 minutes so it can loosen the residue.
Step 5: Wipe Gently with a Damp Cloth
After letting the paste work, use a damp microfiber cloth or sponge to gently wipe the element clean. Avoid using too much water — a slightly damp cloth is enough.
If the grease is still stubborn, repeat the process once more. Patience is key here; the buildup didn’t happen overnight, so it may take two rounds to fully remove.
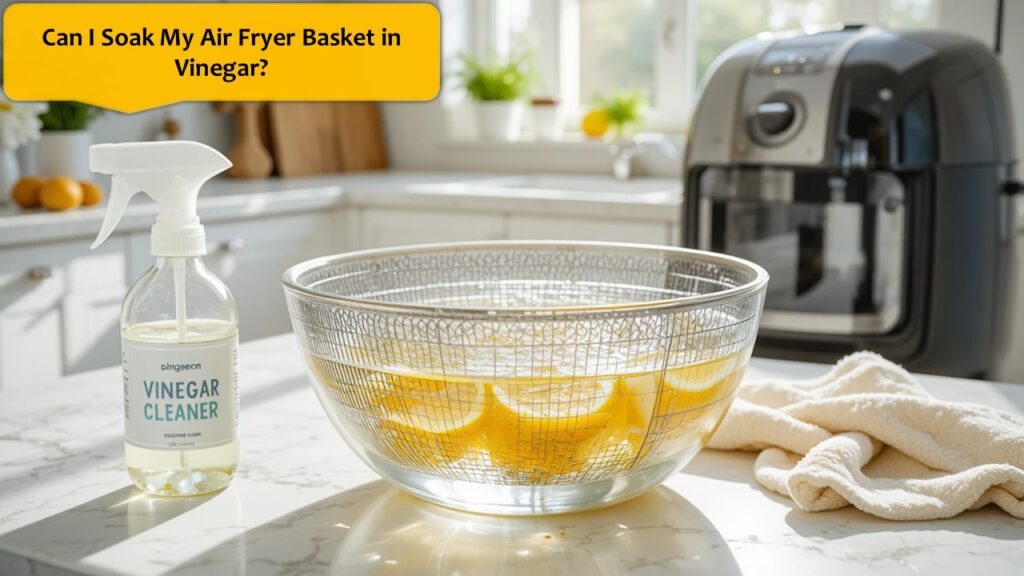
Step 6: Use Vinegar Spray for Final Degreasing
Mix equal parts white vinegar and warm water in a spray bottle. Lightly mist the heating element area (without soaking it).
Let it sit for 5 minutes, then wipe again with a clean damp cloth. Vinegar helps dissolve leftover grease and neutralizes any lingering odors.
Pro Tip: You can also heat up a bowl of water and vinegar in the air fryer (without food) for 3–4 minutes at 300°F. The steam helps loosen stubborn grease from both the element and interior walls. Just remember to let it cool before wiping everything down afterward.
Step 7: Dry Thoroughly
Once you’re done cleaning, wipe the area dry with a soft towel or let the unit air dry for at least 30 minutes before plugging it back in.
Moisture around the heating coil could be dangerous if the fryer is turned on prematurely.
Extra Tips for Stubborn Baked-On Grease
If you’re dealing with years of neglected buildup, try these extra methods:
- Baking Soda + Vinegar Foam: Apply baking soda to the element and spray vinegar on top. Let it fizz for a few minutes, then gently wipe clean.
- Lemon Juice Degreaser: Rub a cut lemon directly on the element. The citric acid cuts through grease naturally and leaves a fresh scent.
- Steam Clean Boost: Add a small bowl of water and vinegar to the basket and run the air fryer for a few minutes at 250°F. The steam will loosen tough grease, making it easier to wipe off later.
Avoid using oven cleaners, bleach, or heavy degreasers — they can corrode metal parts and release toxic fumes when the air fryer heats up again.
How Often Should You Clean the Element?
For best performance, deep clean the heating element once every 2–3 weeks, or more often if you frequently cook greasy foods.
After each use, a simple wipe-down with a damp cloth can help prevent buildup before it becomes a bigger problem.
What NOT to Do When Cleaning the Heating Element:
It’s tempting to scrub aggressively when facing baked-on grease, but here are a few things to avoid at all costs:
- Don’t use steel wool or abrasive pads.
- Don’t spray water directly into the air fryer.
- Don’t use harsh chemicals like oven cleaner or ammonia.
- Don’t reassemble until every part is completely dry.
Keeping your approach gentle ensures your air fryer continues performing well for years without damage.
Final Thoughts:
Removing baked-on grease from your air fryer element doesn’t require harsh chemicals or elbow-breaking scrubbing. With just baking soda, vinegar, and a bit of patience, you can safely dissolve years of buildup and keep your air fryer running efficiently.
Once you’ve cleaned it thoroughly, make it a habit to wipe the heating element regularly and avoid cooking overly oily foods without cleaning afterward. Regular care means no more smoke, no burnt smells, and consistently crisp, delicious results every time you use your air fryer.